Featured media can be video (Youtube), audio (Soundcloud), or images.
When you upload a video: if the Youtube thumbnail doesn't look good, you can add a custom thumbnail instead.

To add text, simply begin typing in the "body" section.
Most pages on the site use the General Content template.
Take care with use of headings & text styles.
This is Introductory Text. If you want to emphasize a section of body text, use the Introductory Text style.
| DO: | DON'T |
|---|---|
|
|
|
|
|
|
|
|
|
|
1. Type text you wish to appear in accordion header.
2. Highlight text , got to "Styles" and select "Accordion heading"
3. Hit return.
4. Anything you type after hitting return will then appear as part of the accordion, only visible when the accordion heading is clicked. (Just like this list of instructions)
5. To finish the accordion text, go to "Styles" and select "accordion break". Anything you type after the break will appear on the page as a separate paragraph below the accordion heading. (Just like the text below)
Buttons should be used for primary or hard calls to action, when you want people to complete a concrete action, such as register for a class, reserve or buy tickets, or complete a form.
1. Type text you want to appear in button.
2. Select and create a hyperlink to whatever page you would like linked in the button.
3. Keeping the hyperlink highlighted, scroll to the bottom of the text window. Above text format, select the "a". This will only appear as an option once a link has been created and highlighted.
4. Got to "styles" and select "CTA button".
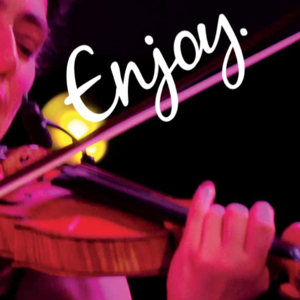
5. Enjoy.
This link style should be used for secondary or soft calls to action, such as learn more, email someone, or get more information.
1. Type text you want to appear in link.
2. Select and create a hyperlink to whatever page you would like linked.
3. Keeping the hyperlink highlighted, scroll to the bottom of the text window. Above text format, select the "a". This will only appear as an option once a link has been created and highlighted.
4. Go to "styles" and select "Icon right". (Note: this option will not appear unless you have already created a hyperlink)
5. Enjoy.
For a full-width quote like this one, choose
Component type—>Quote. The rest is obvious!

Use "Width" to make your image smaller. choose 100%, 75%, 66%, 50%, 33%, or 20% width. Use "Align" to place your image to the right or left of your text.
Use "Link to" to make your image a hyperlink.You may either link elsewhere on the NEC website, or paste in a full URL to an external site.


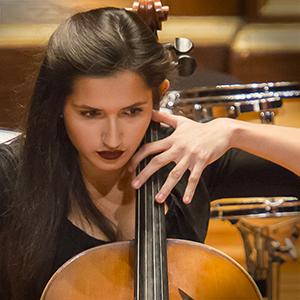
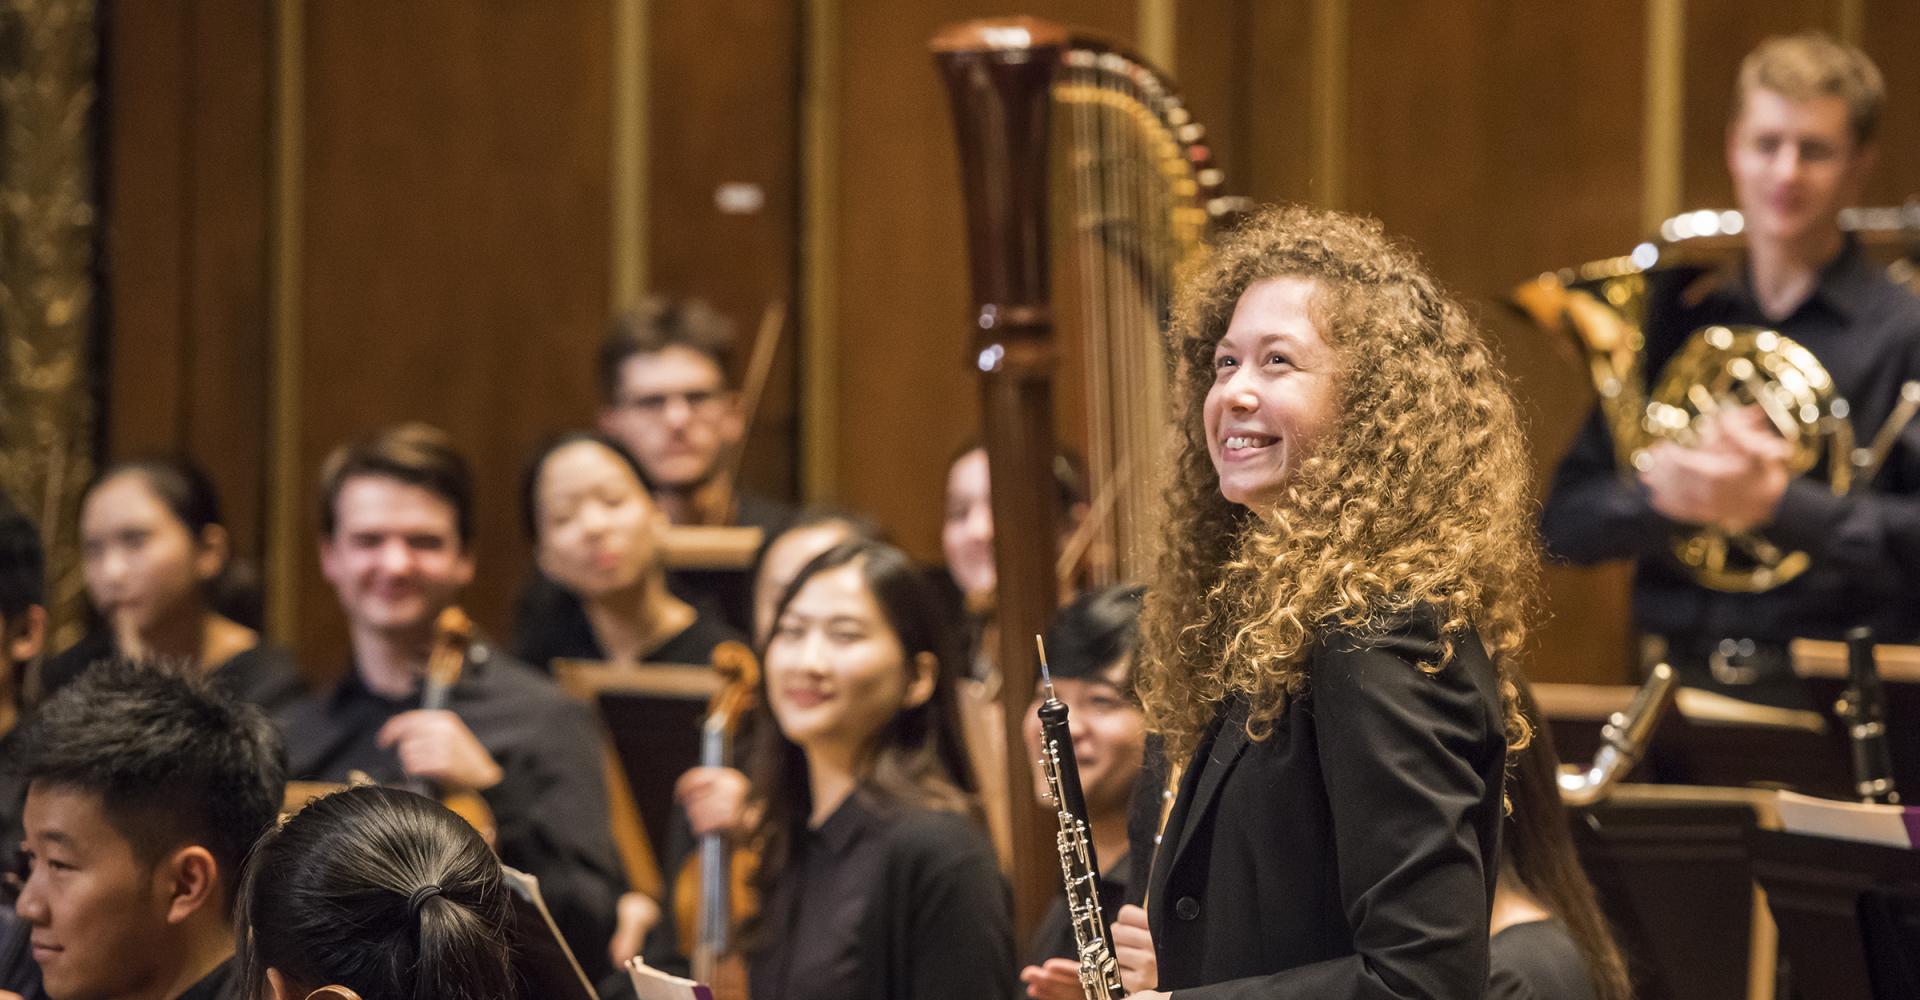
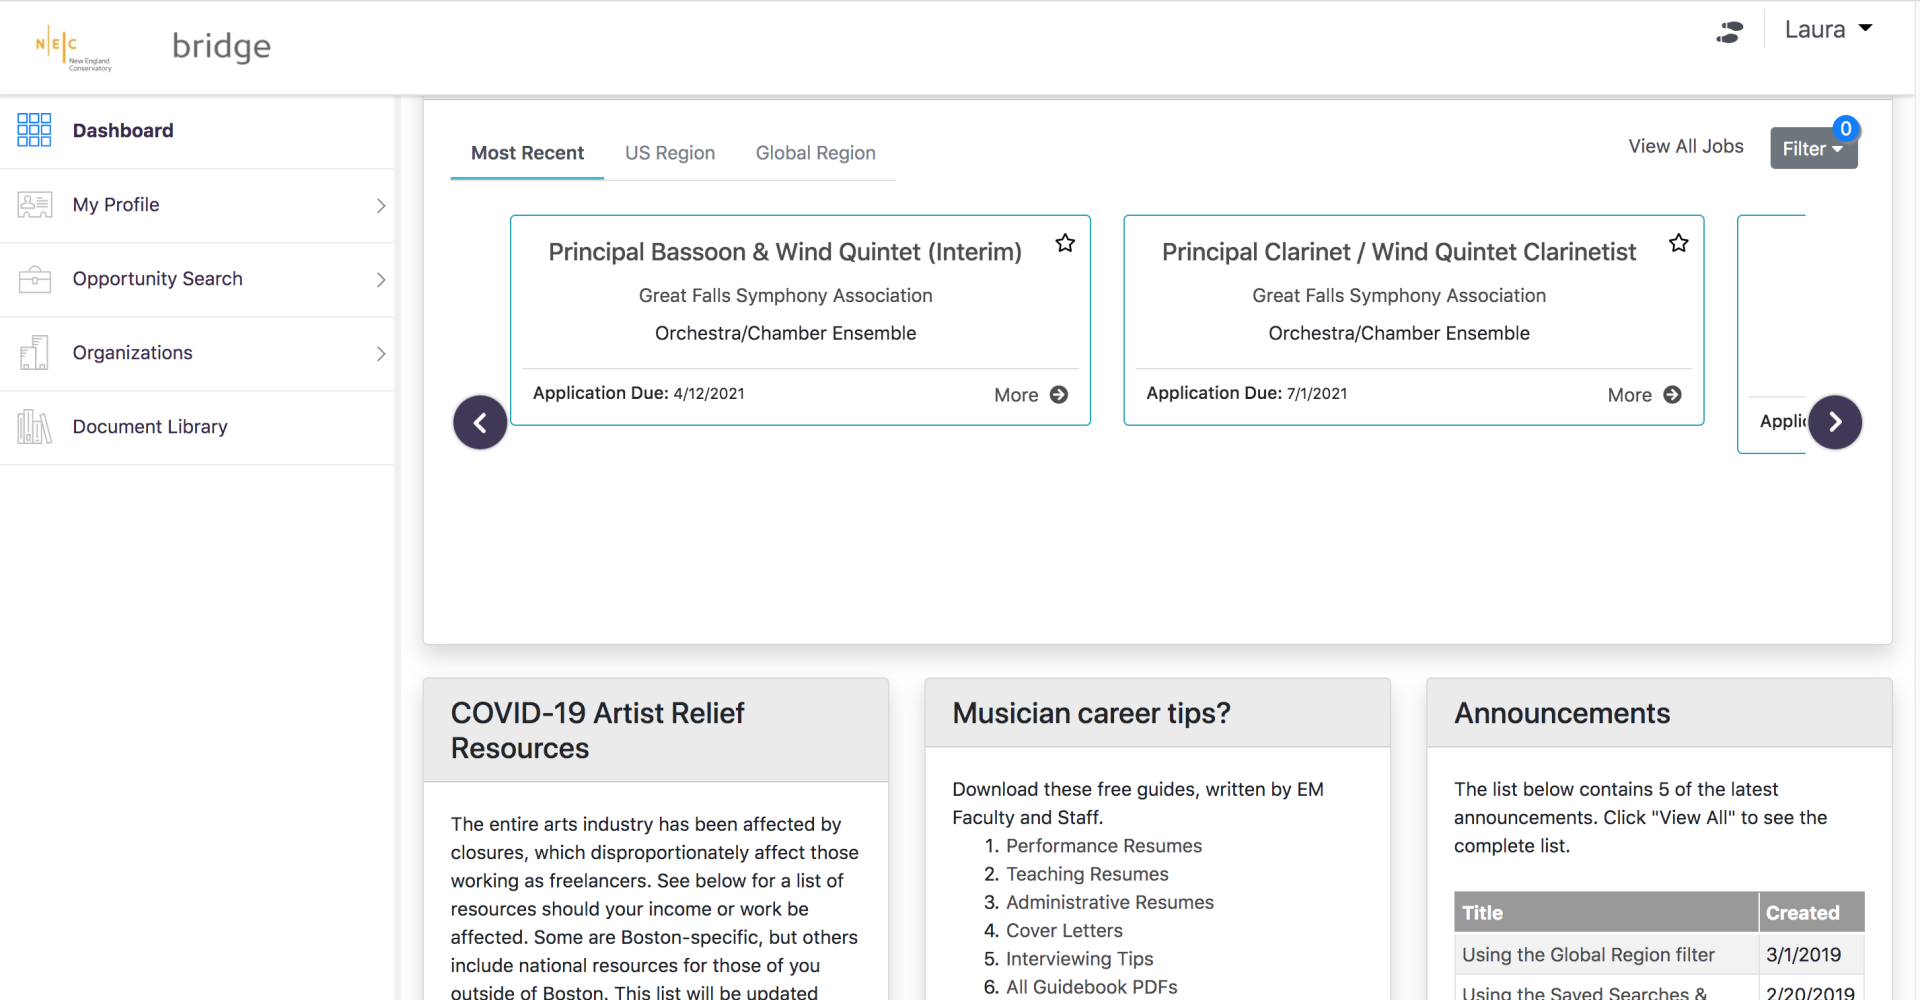
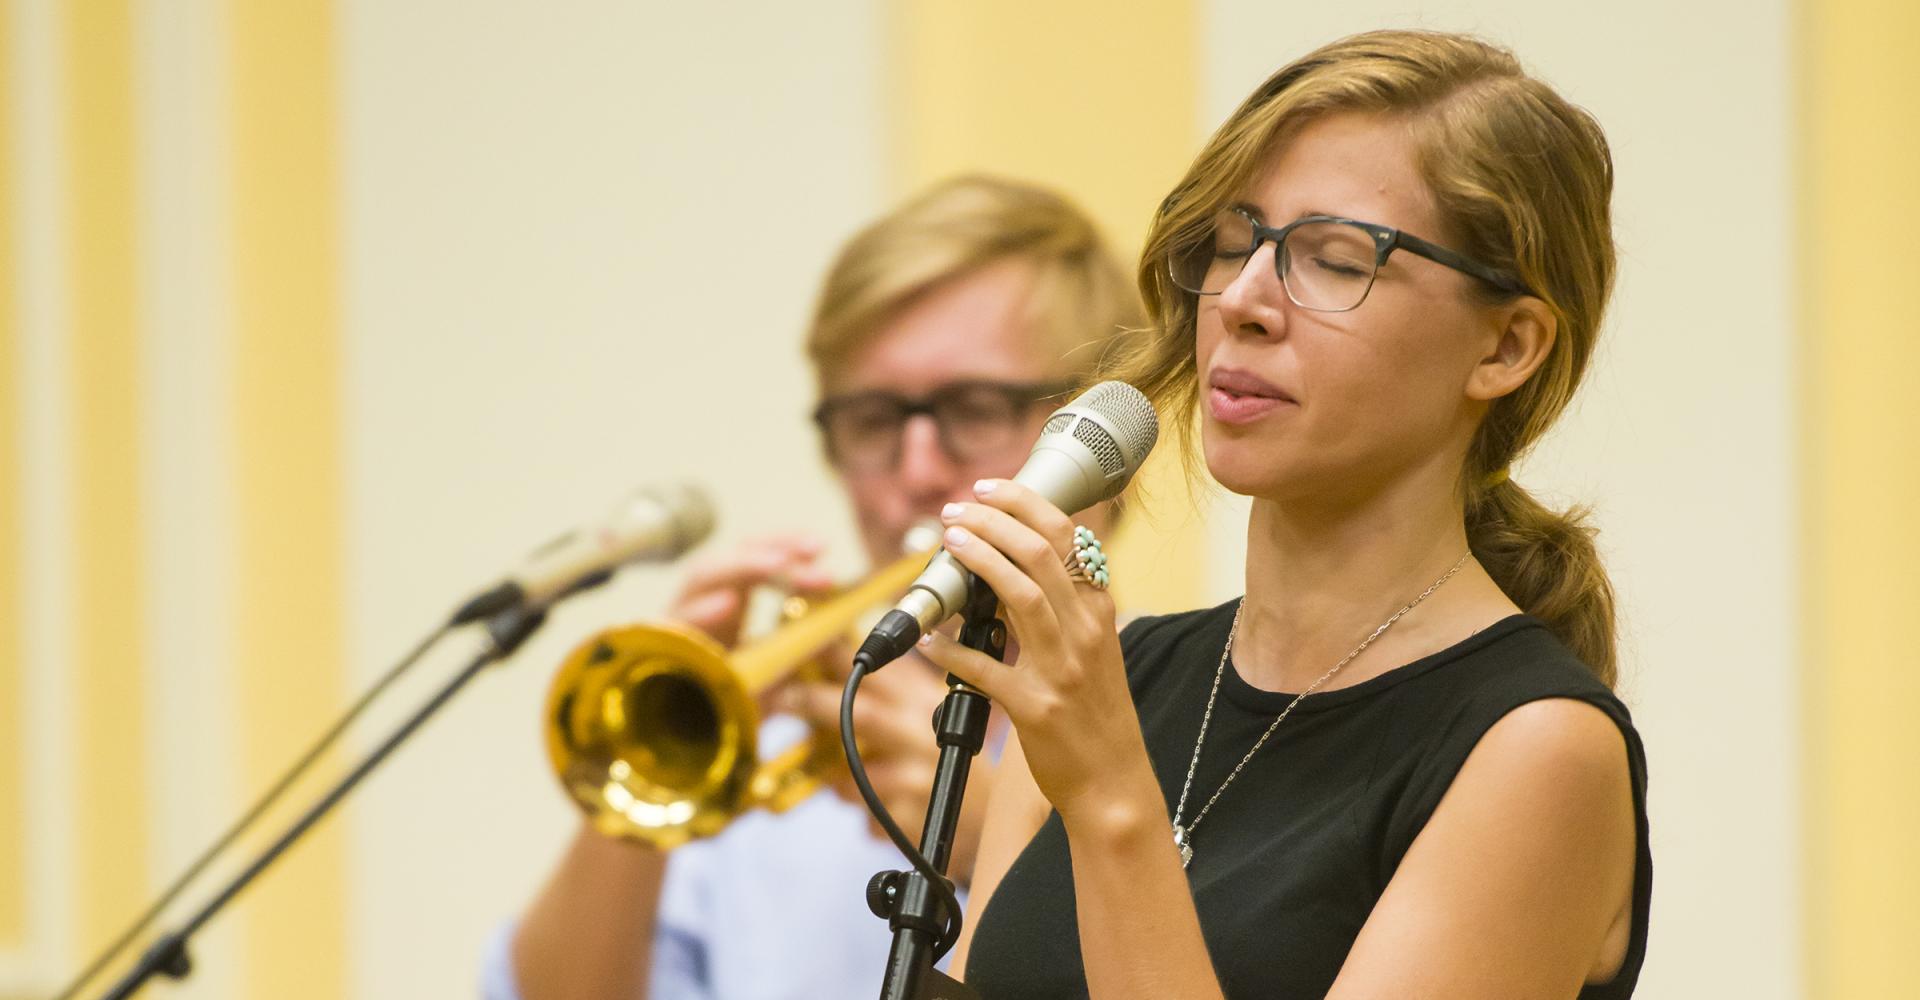
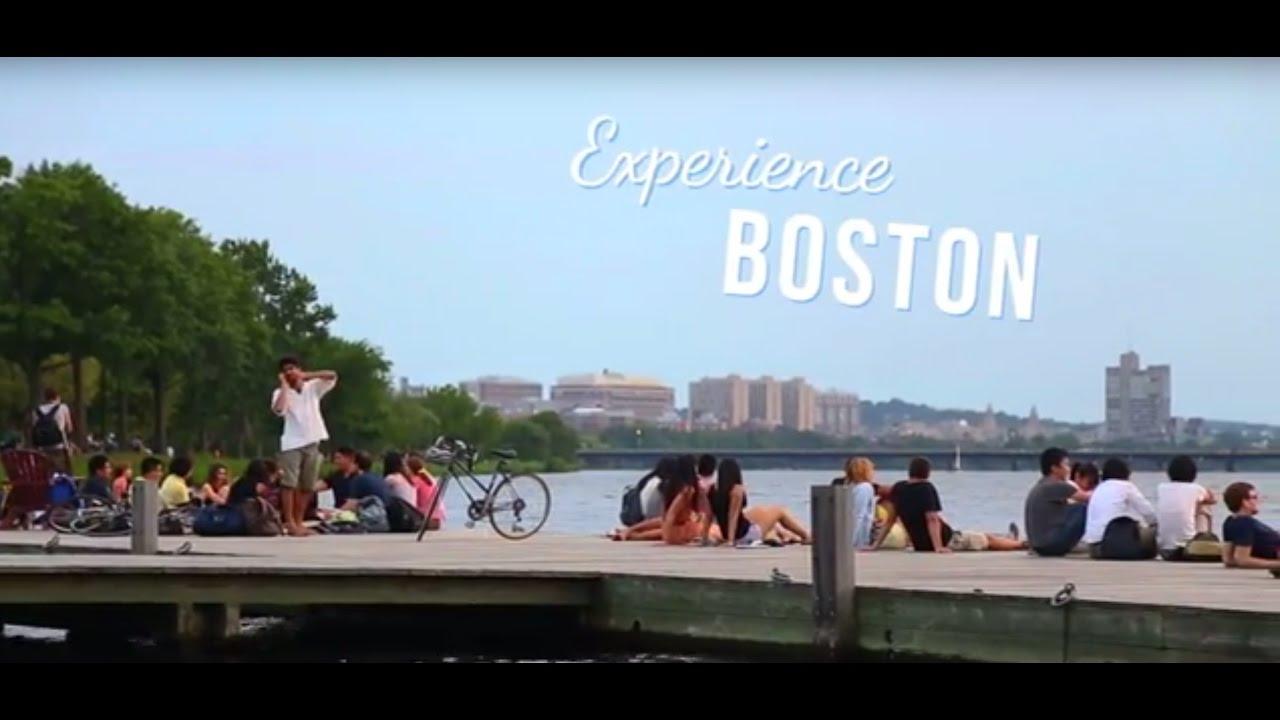
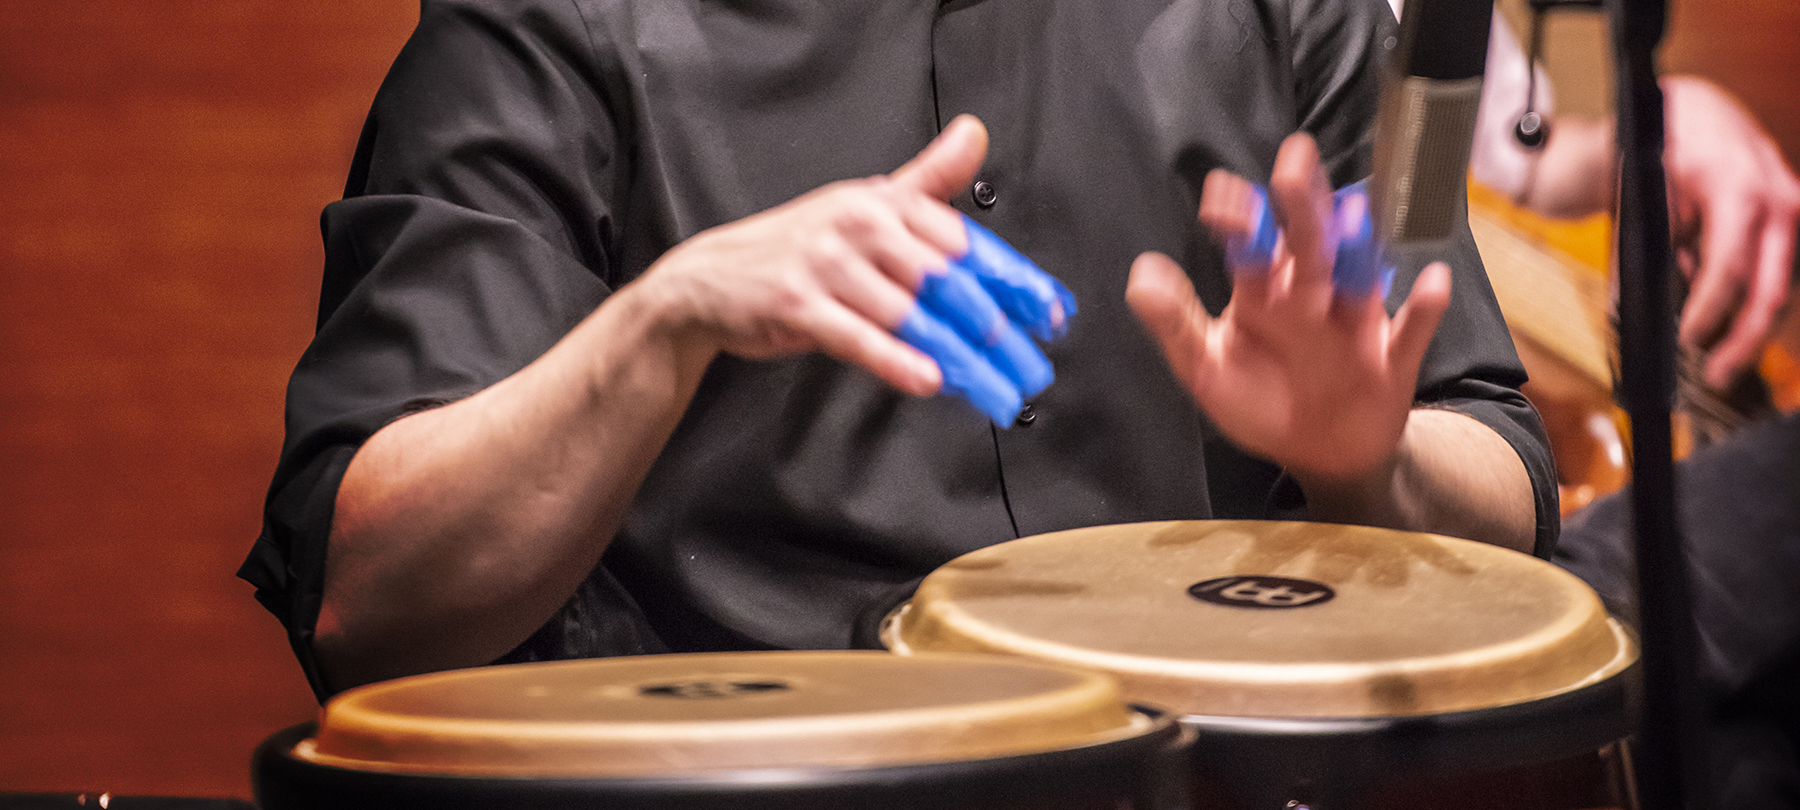
You also have the option to add media in a slider, as below. The component type for this is "Featured Media". Video and sound files as individual components and you can then add explanatory text.
Scroll through the slider to see the different options for this component type.
Featured media can be video (Youtube), audio (Soundcloud), or images.
When you upload a video: if the Youtube thumbnail doesn't look good, you can add a custom thumbnail instead.
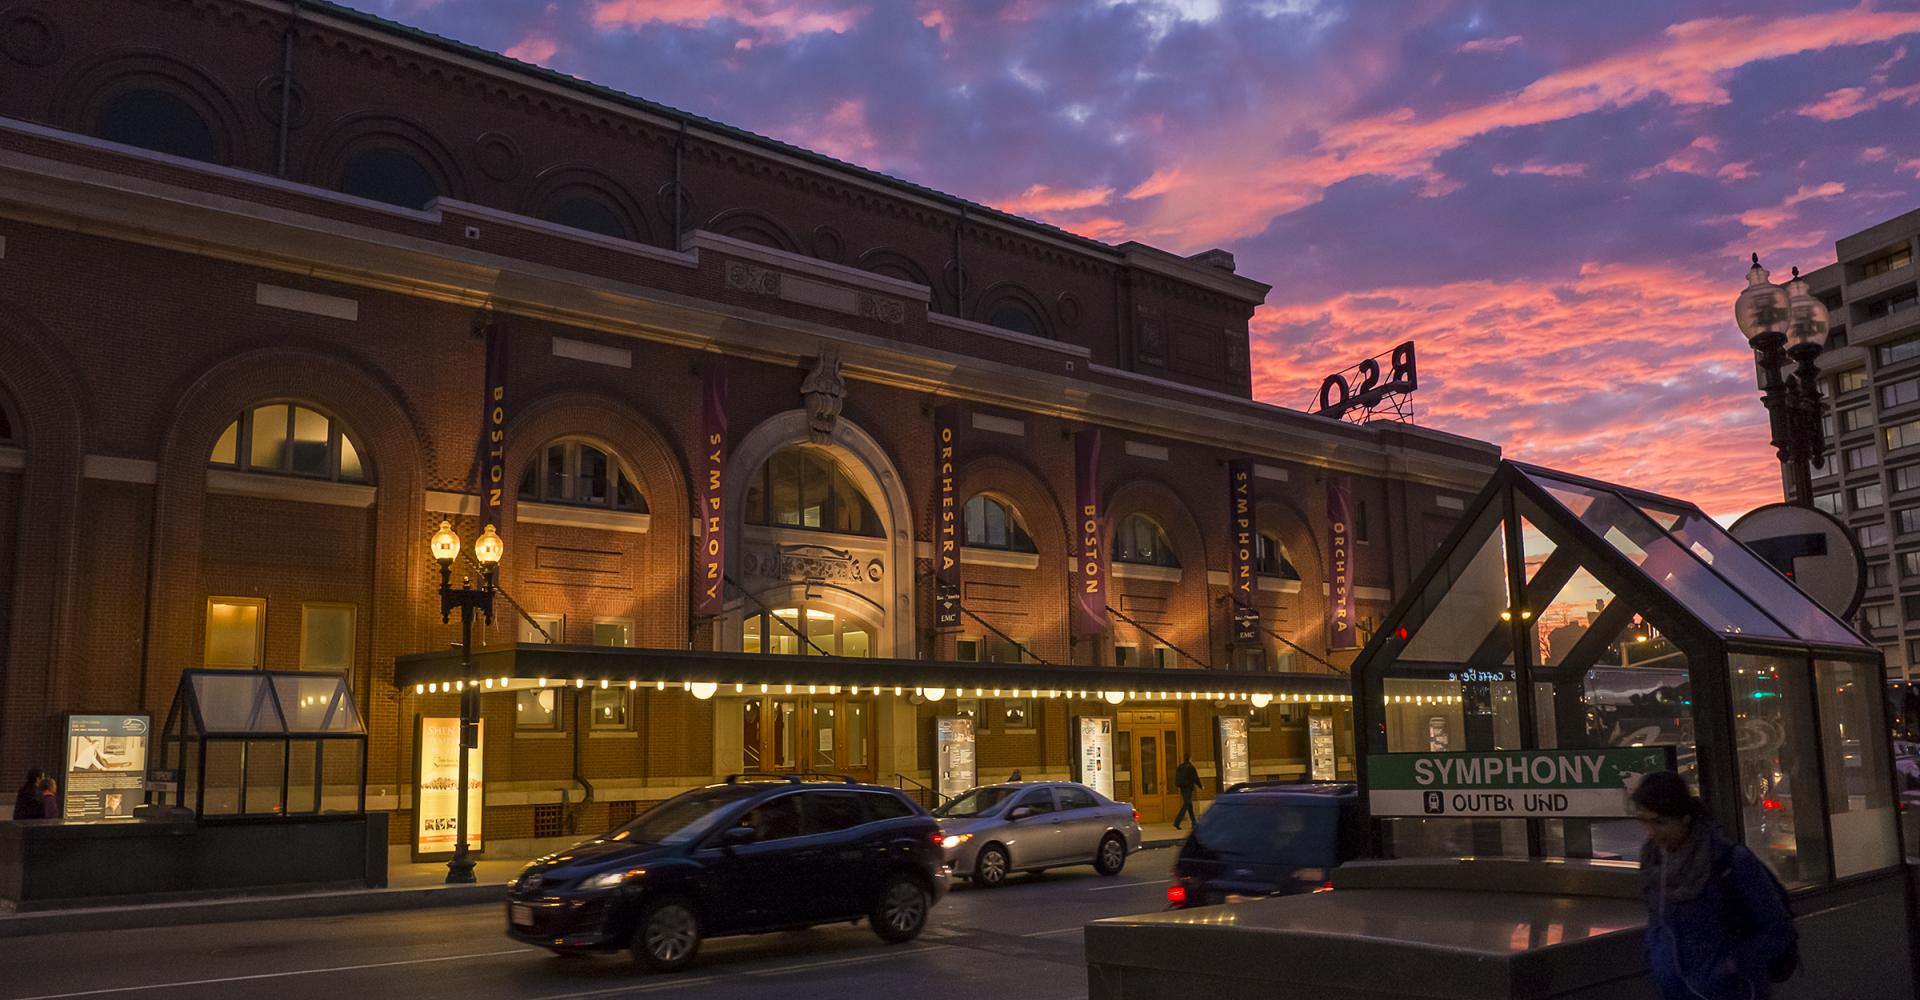
Here is some text about a featured image. For example: here is a picture of Symphony Hall. (See how I chose to link to another area of the website?)
Tables are added as part of a text component. They can display with or without visible lines.
Here is a table without visible lines:
 |
|
|
|
| Here is some text | The text is in a table | Here is some text | The text is in a table |
| More text | More text | More text | Texty texty text |
Here is another table, with visible lines:
| A Table Header | Another Header |
|---|---|
| Line 1, Column 1 | Line 2, Column 2 |
To edit an existing table, including changing the style, adding or deleting rows & columns, and more: right click on the table.
There is a dropdown menu below your text block, titled "text format." From this menu, select Full HTML.
Now you when you add or edit your table, you will see an array of style options, and can adjust the line width, padding, etc.
If you have a question or need help, don't hesitate to get in touch with Marketing for website support.
The best way to do this is to use the website update form below: